The Student News Site of Rock Bridge High School

Bearing News

The Student News Site of Rock Bridge High School

Bearing News

The Student News Site of Rock Bridge High School

Bearing News

DIY: Repainted Earrings

Bright+colors+work+best%2C+but+you+can+use+any+hue.+Ill+be+using+a+bright+red+and+a+goldish+brown.+
Bright colors work best, but you can use any hue. I’ll be using a bright red and a goldish brown.

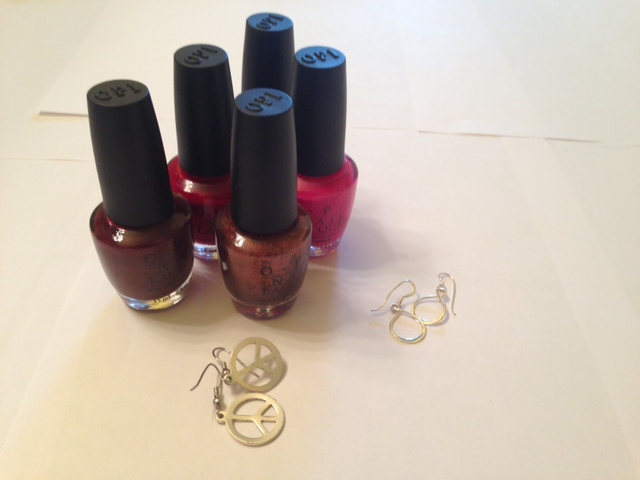
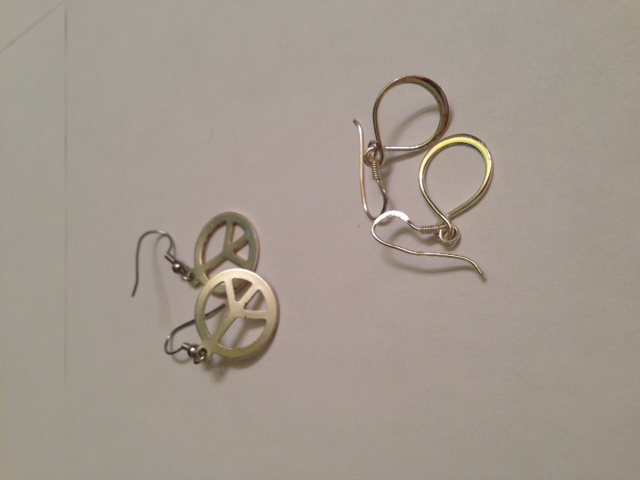
There is a pair of plain, boring silver earrings on the vanity table. You’ve had them for years, you barely wear them, and you need something to spice up your look. Why not follow this simple DIY to repaint your earrings to a brand new color?
All you’ll need: nail polish (any brand, any color), silver earrings.

Bright colors work best, but you can use any hue. I'll be using a bright red and a goldish brown.
Bright colors work best, but you can use any hue. I’ll be using a bright red and a goldish brown.
Step 1: Set out a few pieces of paper to keep the floor from getting nail polish on it. Lay down your earrings for you to paint.
Small, simple earrings are the easiest to paint. If you have a pair that you haven't worn in ages, then instead of leaving them dusty in a drawer, repaint them for a brand new look.
Small, simple earrings are the easiest to paint. If you have a pair that you haven’t worn in ages, then instead of leaving them dusty in a drawer, repaint them for a brand new look.
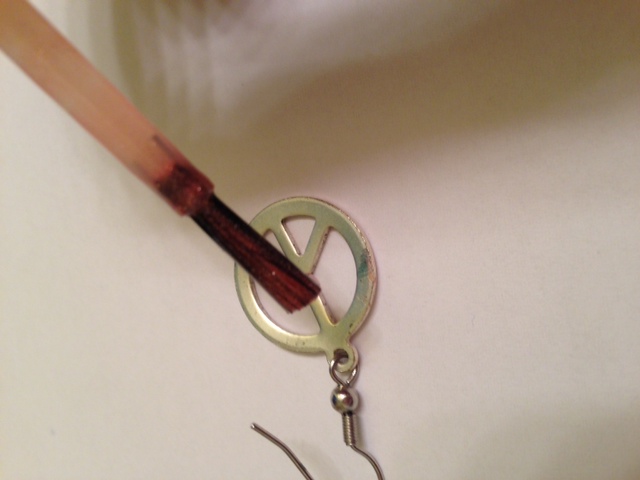
Step 2: Carefully use your nail polish brush to paint polish onto the earrings. Only use a small amount of polish, or it will spill and just get messy. You may need to use several coats to completely cover the silver tarnish of the earrings with color.
When you're painting, use small strokes facing the same direction, so you don't get globs of polish. Be careful to paint every part of the earrings (don't forget about the insides!)
When you’re painting, use small strokes facing the same direction, so you don’t get globs of polish. Be careful to paint every part of the earrings (don’t forget about the insides!)
Step 3: Allow the earrings to air-dry for around 15 minutes or more, to be safe. If you’re worried about the paint chipping, add a clear top coat over your earrings, just like you would if you were painting your nails.
I experimented a little with these two pairs. With the top pair, I mixed the brush strokes so the texture looks more like globs. With the second pair, I kept the strokes facing the same direction. You pick which you like best. In the end, either texture looks great from afar.
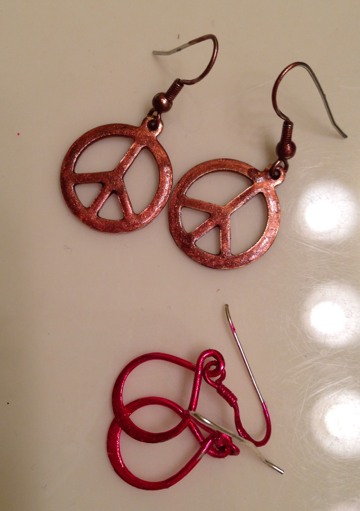
Step 4: Put your newly painted earrings on and you’re ready to go!
This is an awesome, super easy DIY project for anyone to do. It takes around 15 minutes max, and is perfect for anyone who needs new earrings but doesn't want to pay for them!
This is an awesome, super easy DIY project for anyone to do. It takes around 15 minutes max, and is perfect for anyone who needs new earrings but doesn’t want to pay for them!
By Lauren Puckett

Leave a Comment
More to Discover

Comments (0)

All Bearing News Picks Reader Picks Sort: Newest

Your email address will not be published. Required fields are marked *