


Controlling every aspect on your camera to take a photo might sound intimidating as you will need to know how to control shutter speed, aperture, white balance, ISO, metering, burst rate and much more. It will take time, patience and practice. Shooting manual is a big balancing act that you have to get a feel for.
Now, you might ask why you would want to put yourself through the trouble of learning how to shoot manual. For one, I will tell you that once you master manual control, you will never find yourself putting your camera in automatic again. Manual mode allows you to make photos come out exactly how you want.
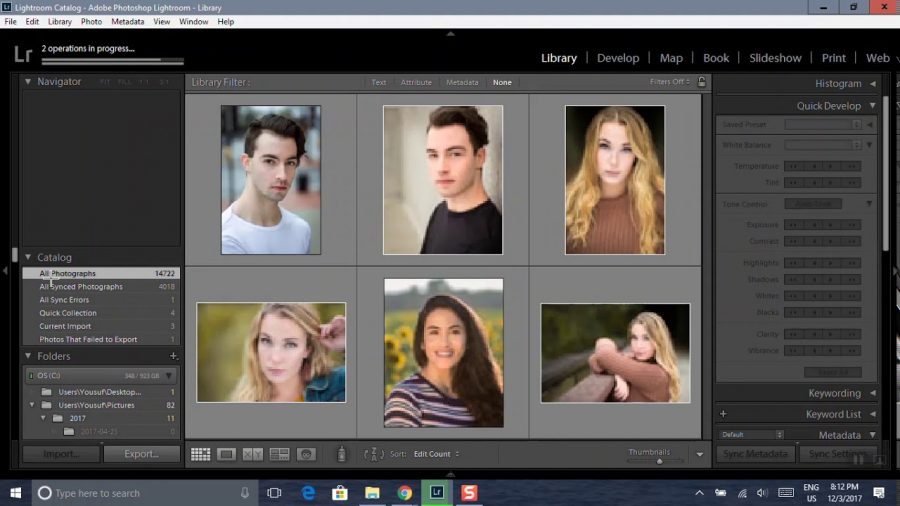
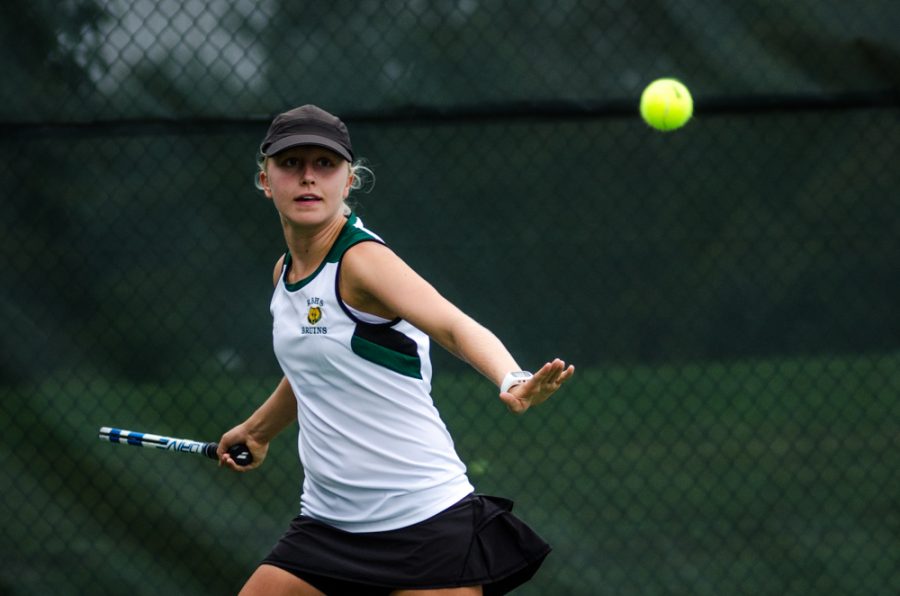
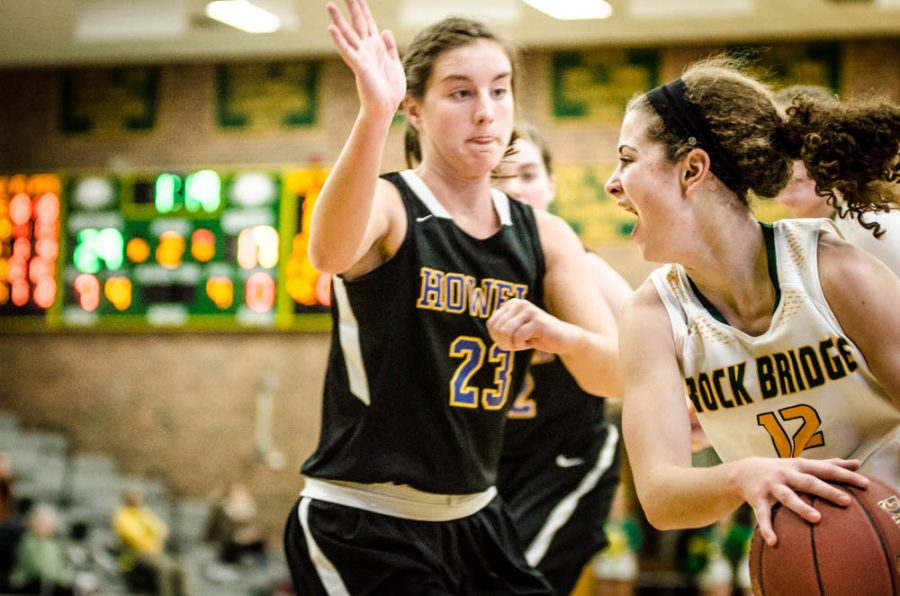
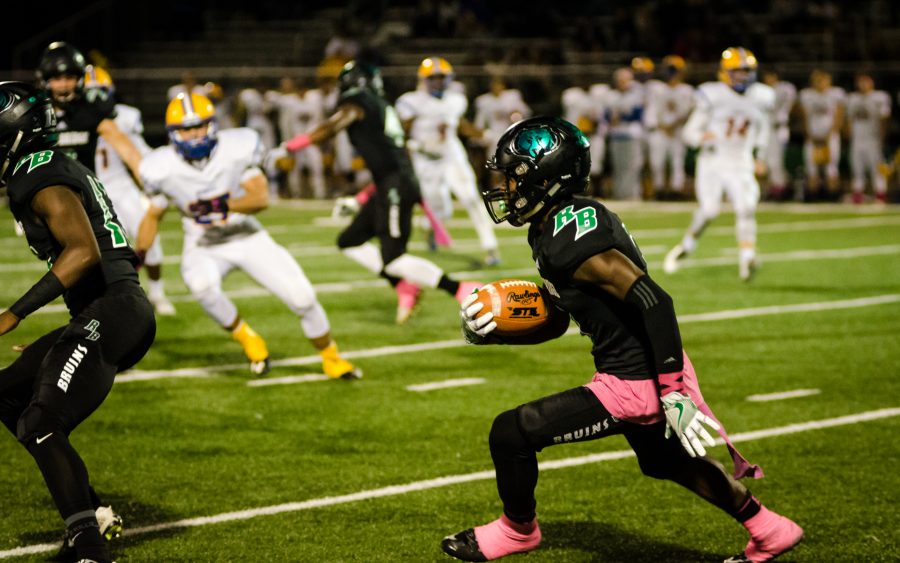
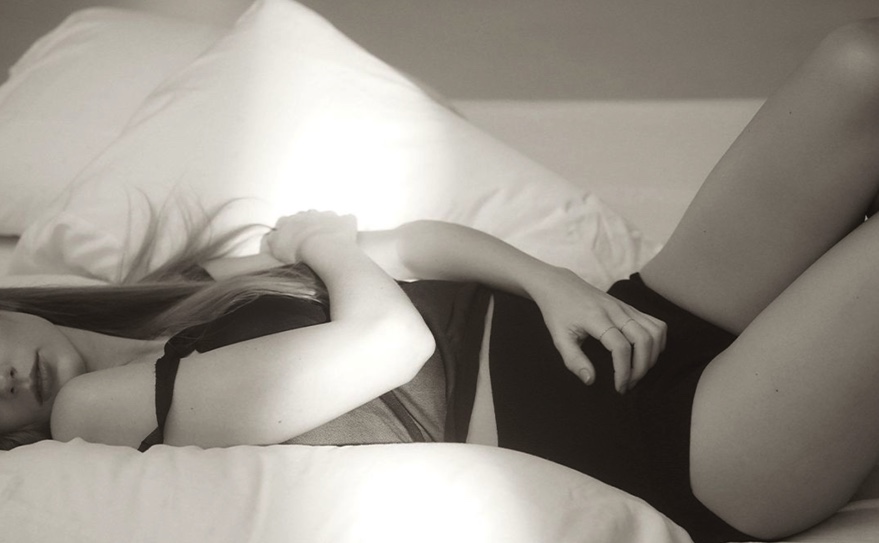
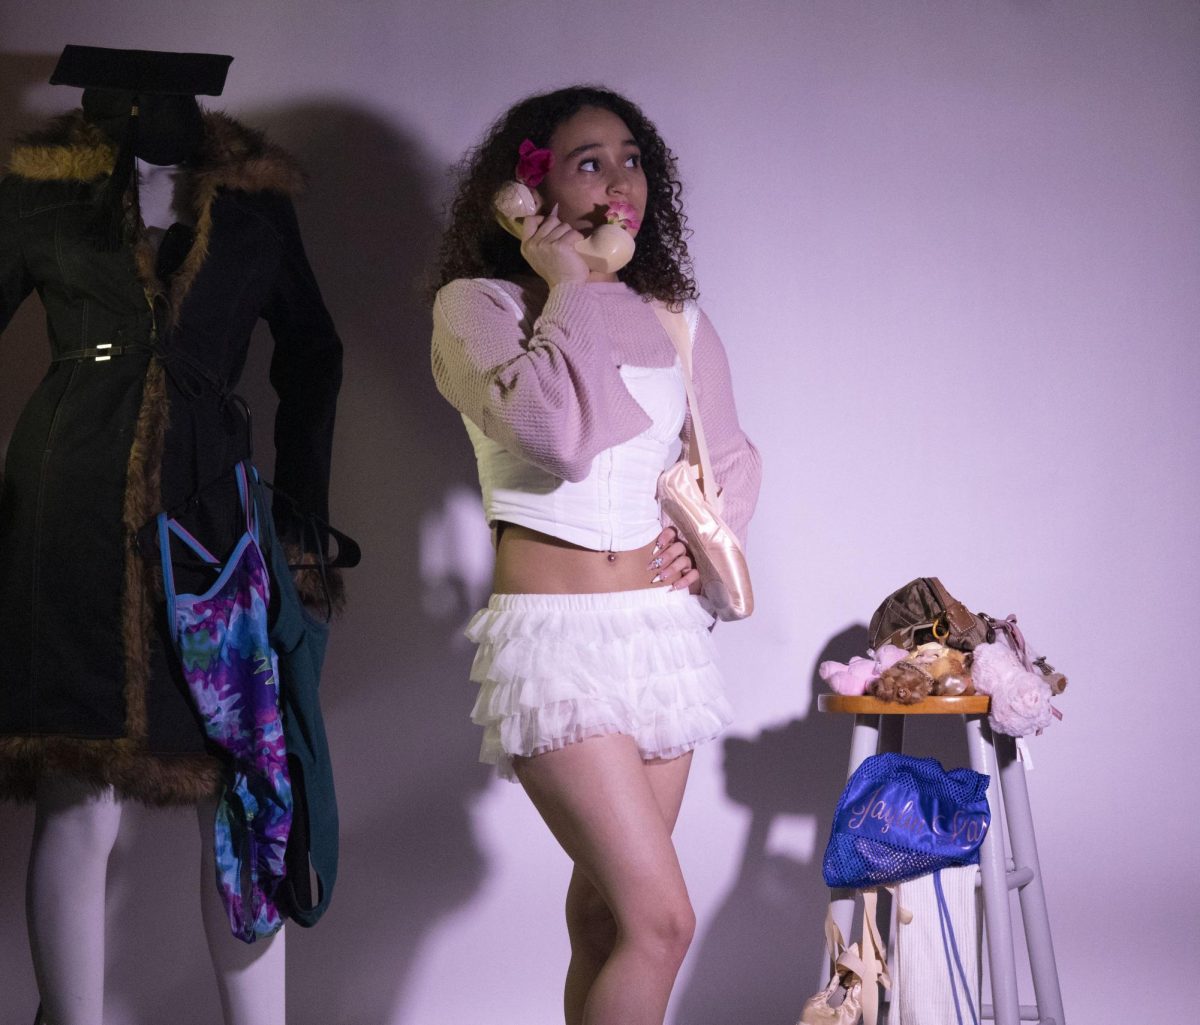
For example, if you are shooting a dramatic studio portrait with only half of a face in light and the other half in shadow in automatic, the camera will attempt to brighten up the entire photo and may overexpose the photo leaving you with a photo that is no longer dramatic. Additionally, when you manually set your controls at a sporting event, all your photos will have the same exact lighting, meaning when you edit your photos, you can essentially copy and paste the edits you made on one photo onto all your photos.
In this post, I will be covering three main manual controls that will allow you to change how bright or dark your photos are. In order to master these controls, you will need to understand exactly what each of these do. Only after making sense of what each control does should you move on to trying them out.
To begin, the first and easiest to understand is shutter speed. This is essentially how fast the photo is taken. It is the time it takes the mirror in the camera to flip up and expose the image sensor then flip back down. The longer the image sensor is exposed, the more light will get in.
Shutter speed is displayed as a full number on your camera, however unless you are taking a long exposure photo, these numbers are actually fractions. The number you see displayed is the denominator, the numerator is always one. For example, if the number on your camera reads as 250, your shutter speed is 1/250th of a second. This sounds incredibly fast, however, most DSLRs have a shutter speed range of 30 seconds to 1/4000th of a second or 30 seconds to 1/8000th of a second.
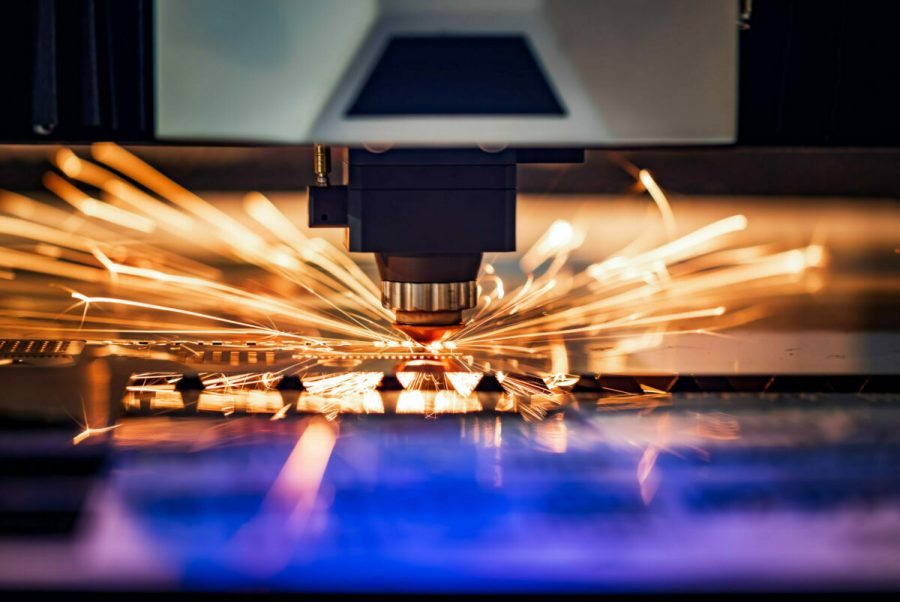
If you are shooting a moving subject and your shutter speed is too slow, you will find that your picture has motion blur in it, something you cannot fix while editing, this is why it is important you choose the correct shutter speed. However, the shorter the shutter speed, the less light will get it.
Second, comes aperture, or f-stop, written as f/ (number). Some will tell you that this is simply the opening of the hole in your lens, however, this is untrue. F-stop is essentially a ratio between the focal length and the size of the pupil where light enters the lens. This can be seen in the equation f/ =focal lengthpupil. From this equation, we know that the larger the pupil, the smaller the number will be, or, the longer the focal length, the larger the number will be. From this we know that the longer the focal length is in relation to the pupil, the less light enters the lens. Therefore, the lower the f-stop number, the more light will be available to capture the photo.
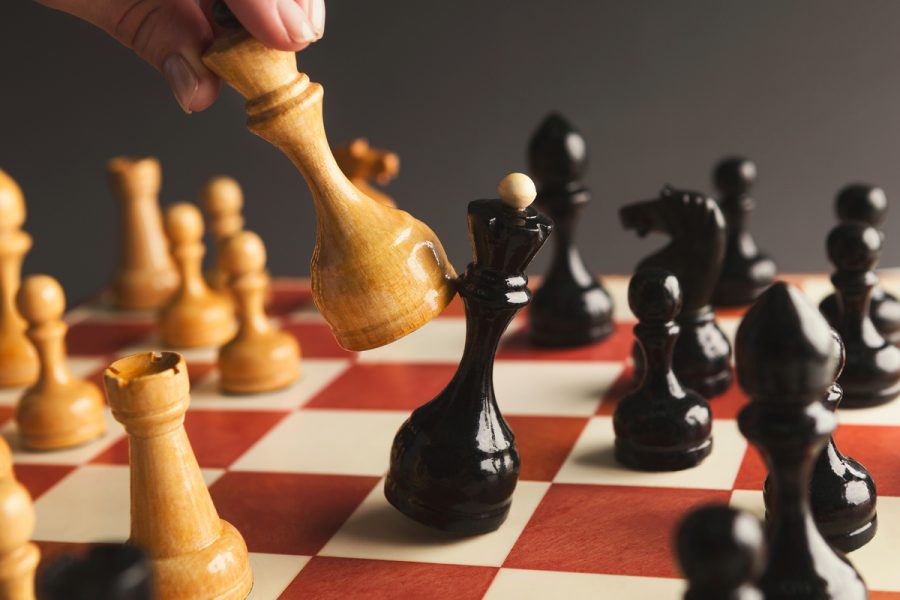
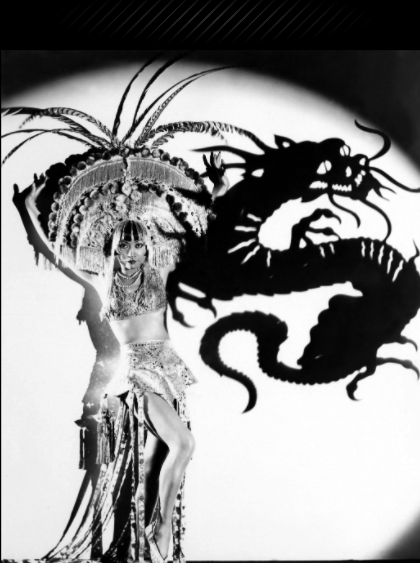
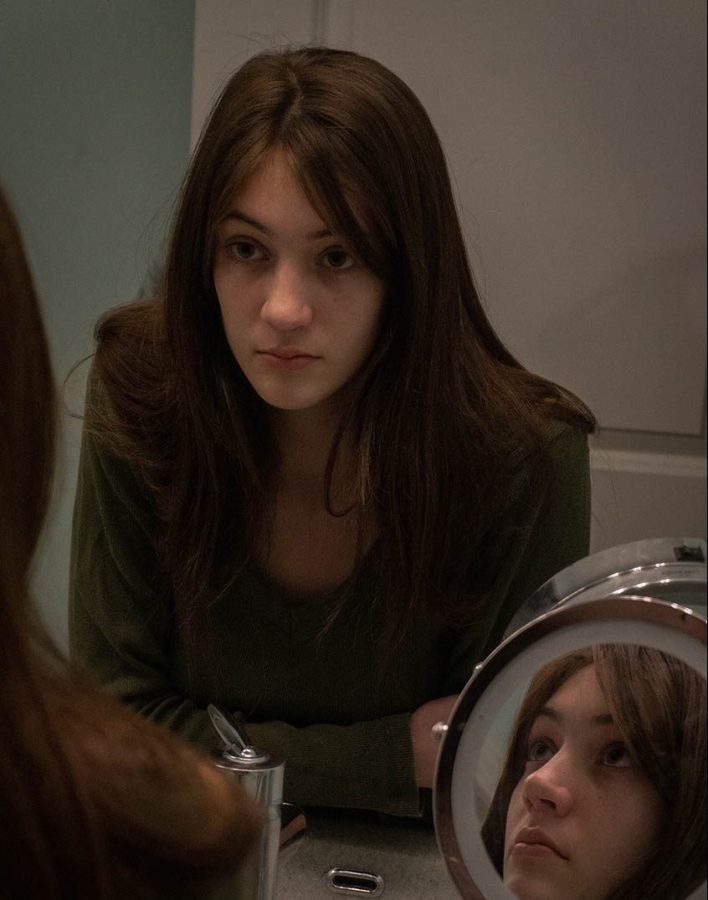
Additionally, your aperture will determine your depth of field. The lower your f-stop, the shallower your depth of field. This can be very important depending on the type of photo you want to capture. If you have a shallower depth of field, then you have a subject in focus with everything that’s on a different plane out of focus. With a deep depth of field, nearly everything in the photo is in focus.
Finally, the last factor that can determine how light a picture will be, is ISO. This is something that is known as film speed. It is the sensitivity of the image sensor to light. While ISO can be incredibly helpful, it can also be your worst enemy. The higher the ISO number is, the lighter your picture will be.
Beware, however, because the higher your ISO, the grainier your photo will be.
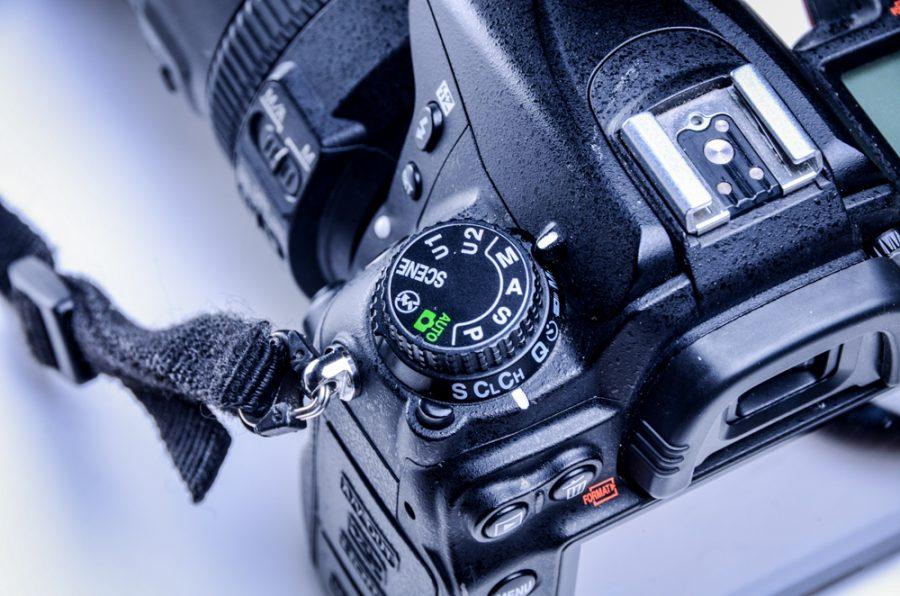
As you can see these three controls all affect your lighting but all have something else to factor in. (eg. Shutter speed to stop motion, aperture to bring more into focus, higher ISO causing more grain, etc.). This is why it is such a balancing act to use all three. For this reason, I recommend you start off slowly, letting the camera do some of the work.
To do this, start off in Aperture Priority Mode. This will give you control over only aperture and ISO. Try starting off outside when it is relatively bright. Keep your ISO set between 100-320, then begin to mess around with aperture. Set a low aperture, then bring a subject as close to your lens as it can focus and see the effect. Then try the same thing with a higher aperture. Additionally, as you’re taking photos, take note of what the camera is changing the shutter speed to in order to become familiar with approximate speeds for different lightings.
Next, try using Shutter Speed Priority Mode. This will give you control over only shutter speed and ISO. Now try seeing what the highest shutter speed the camera can be set to, forcing the camera to lower the aperture, without the picture becoming dark. Then begin increasing ISO to see how much faster you can increase the shutter speed to.
When you feel you are ready, move on to Manual Mode. This will allow you control over everything. One of the guides for this, is the dotted number line (it has a (+) sign on one end and a (-) sign on the other) which can be found on the info screen and at the bottom of your viewfinder. This clues you into how bright or dark the picture will be. In normal lighting situations this can be a good guide, and you should try to get the line above the number line to be centered or gone. Use this line for setting up your first photo, as it simply gives you a ballpark number. It is up to you to decide what the photo’s lighting should be like.
In order to master shooting in manual, you must continue practicing in different lighting situations shooting different subjects and different types of photos. Although it takes time, when you are able to capture exactly the photo you want, it will all be worth it.