
Thankfully, the snow has melted away, the green grass is beginning to grow and the temperatures have reached wonderful heights. So I guess I can assume that spring has finally arrived. Other than the changes in the weather, spring fashion trends have taken a turn from the winter styles as well. Browsing through the fashion tabs on Pinterest, I noticed repeated bright, colorful outfits, and fun, ditsy prints scattered all across my screen.
www.swellmayde.comRather than deciding to go out and spend cash to keep up with the latest spring trends, I took the initiative and planned to make a pair of “spring-style” pants for myself. In this DIY project, I took inspiration from the
DIY blog on Pinterest, and easily made a pair of cute polka-dot pants that fit right in with the styles I’ve noticed popping up this spring.
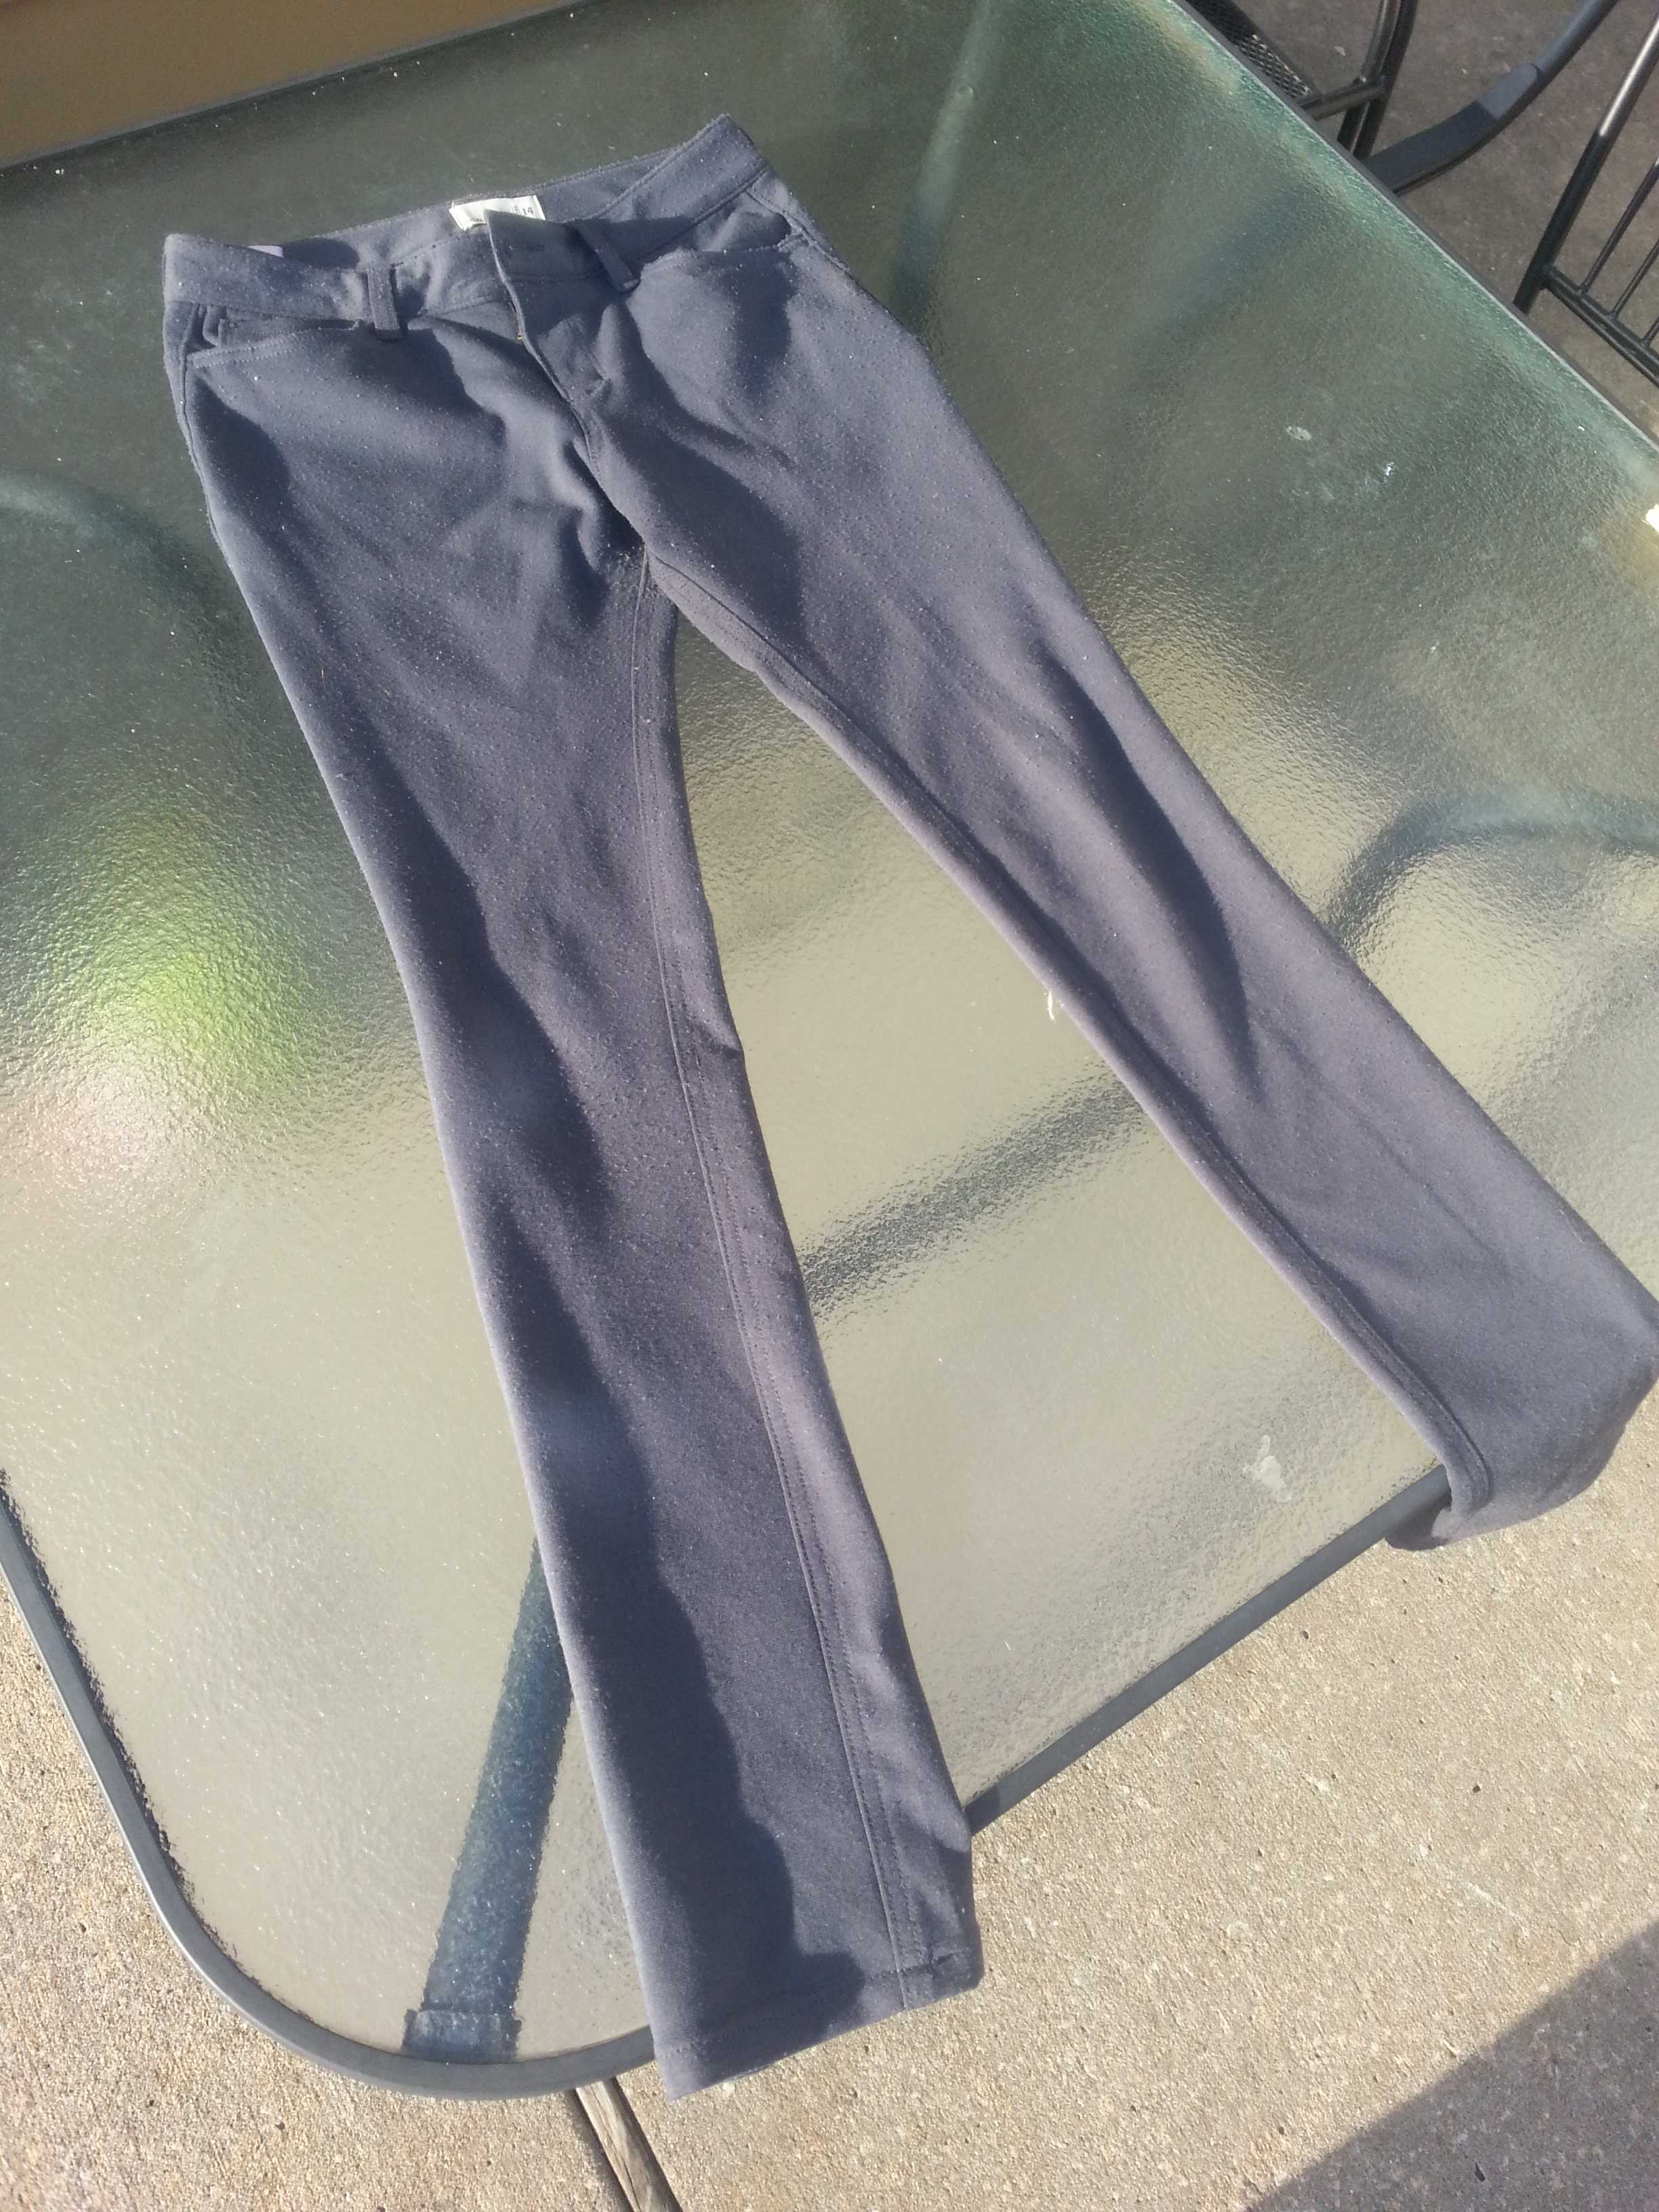
What you’ll need:A pair of pants, leggings, or jeans that you’re looking to spice up
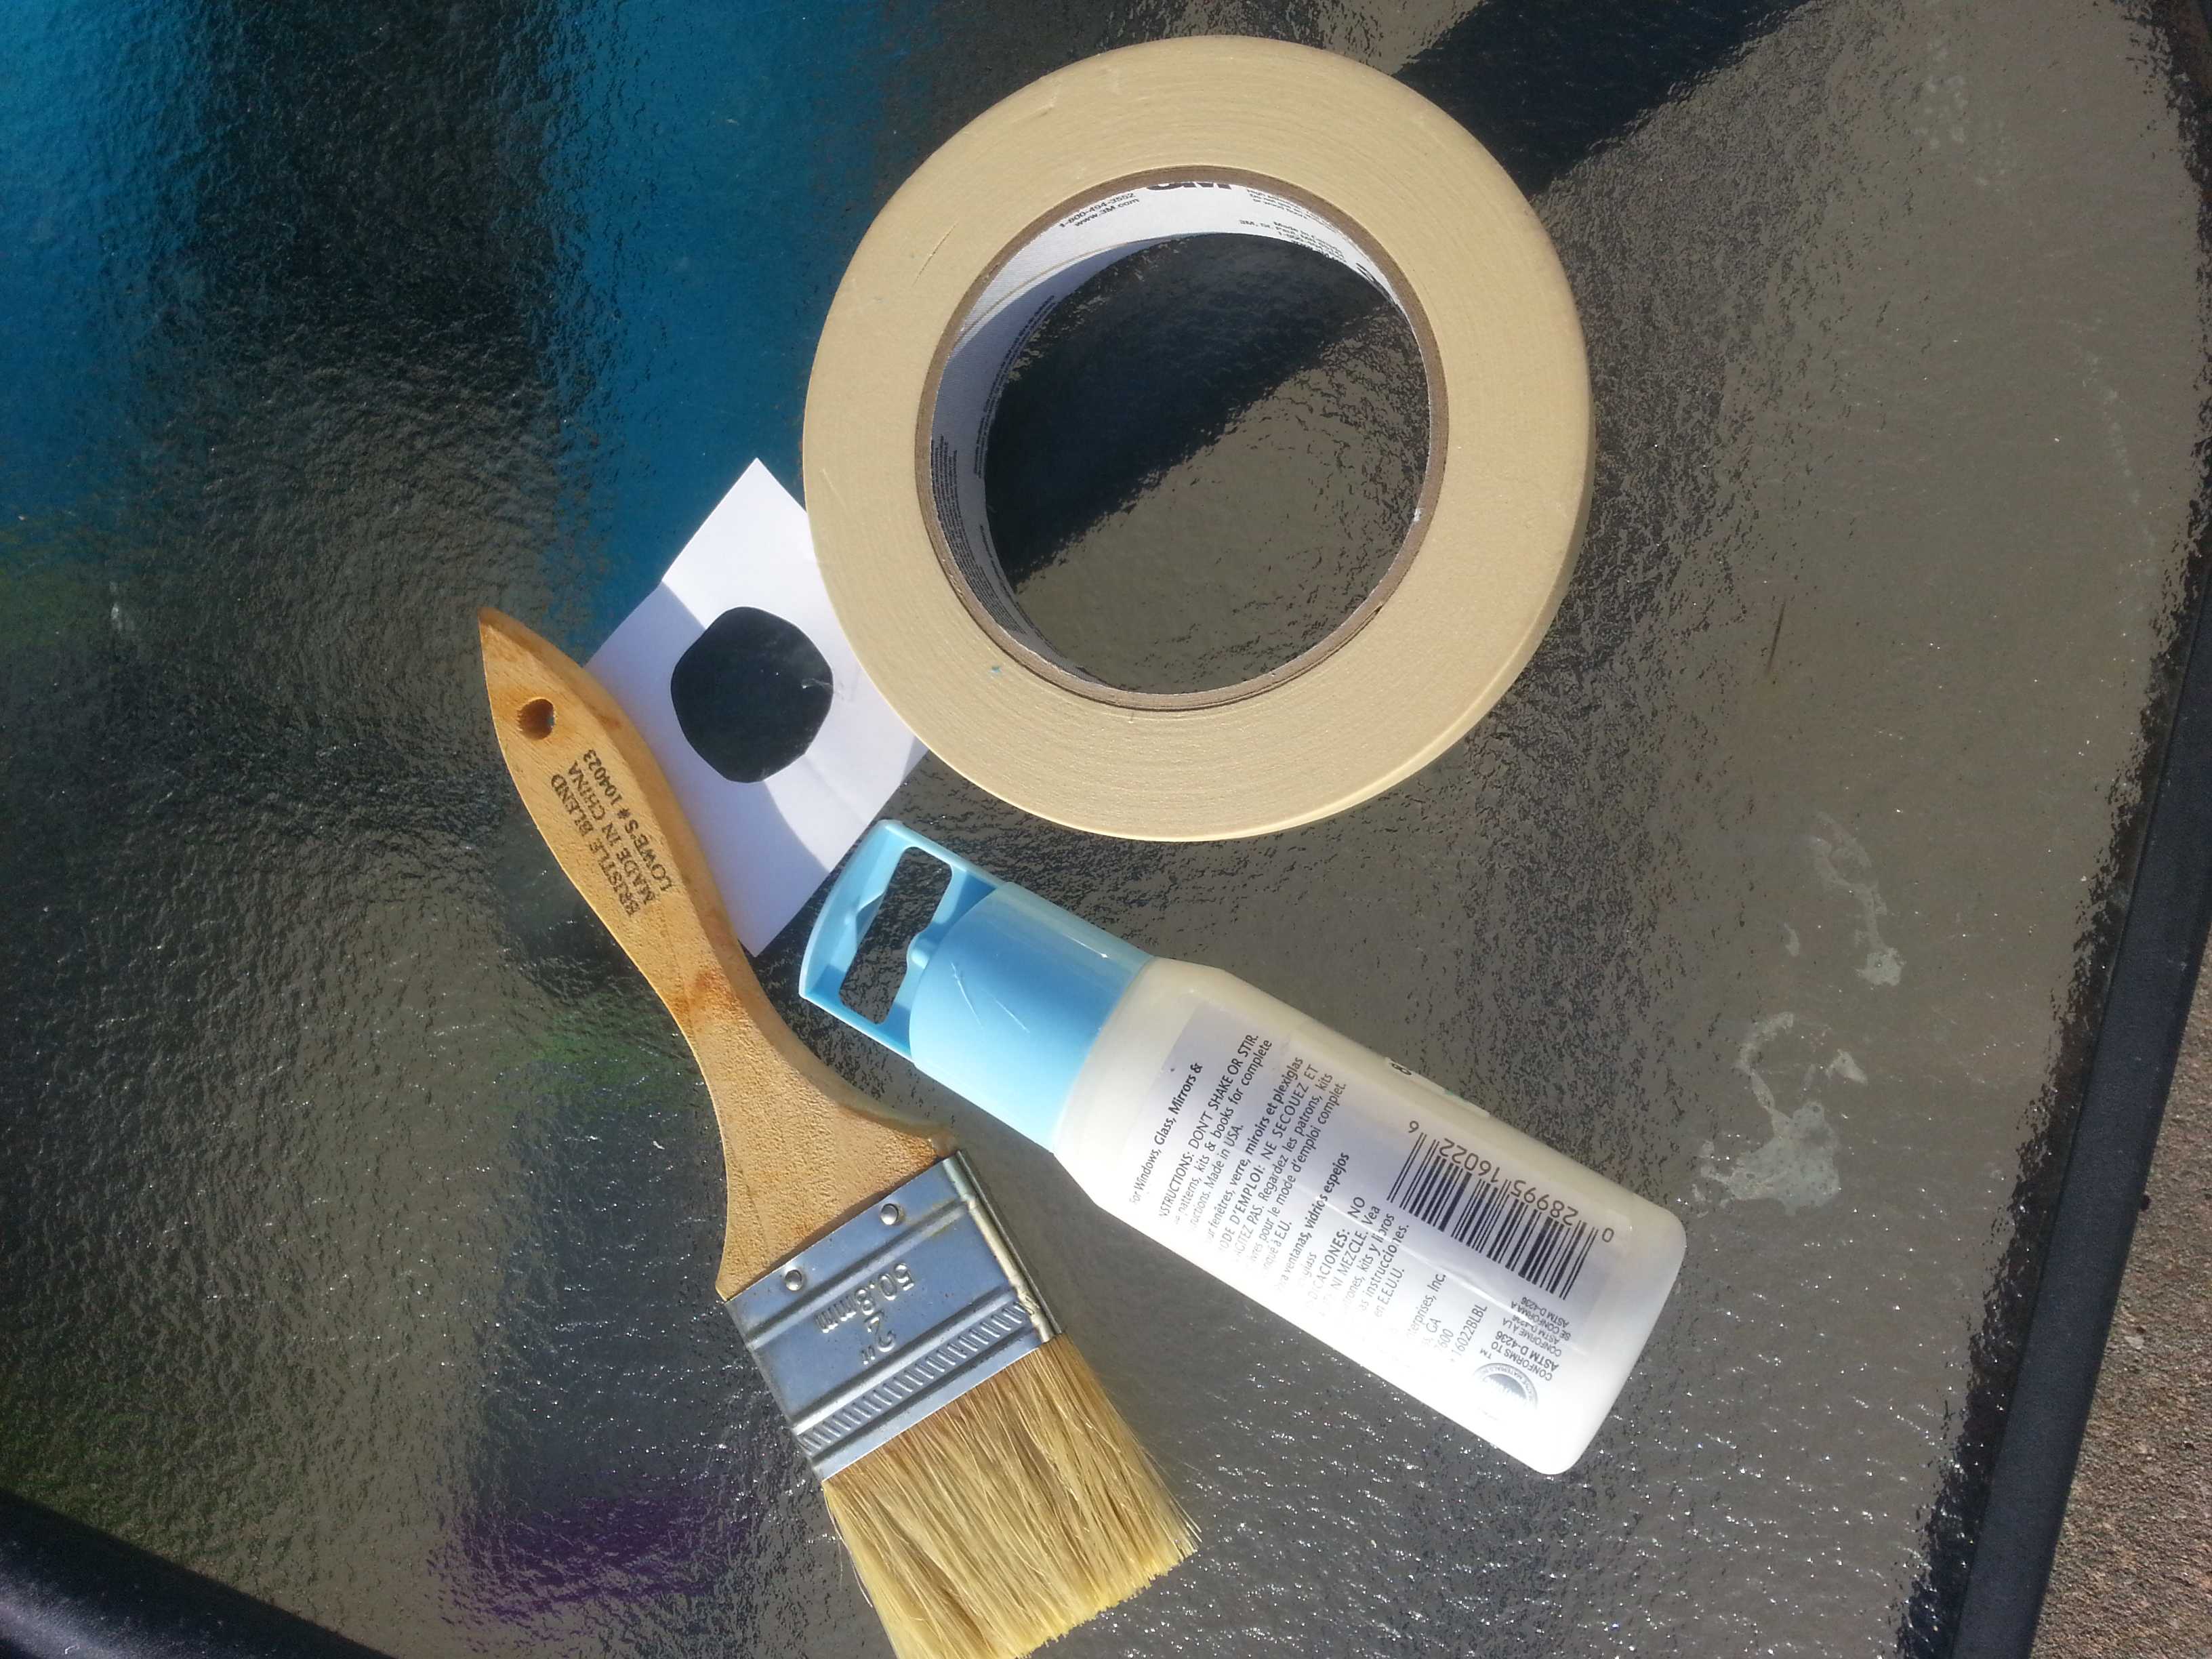
Duct tape
Fabric paint in the color of your choice (I used white)
Small, square piece of paper with a circle stencil cut into it
Paintbrush
Plastic plate
How to create your polka-dot pants:
1.
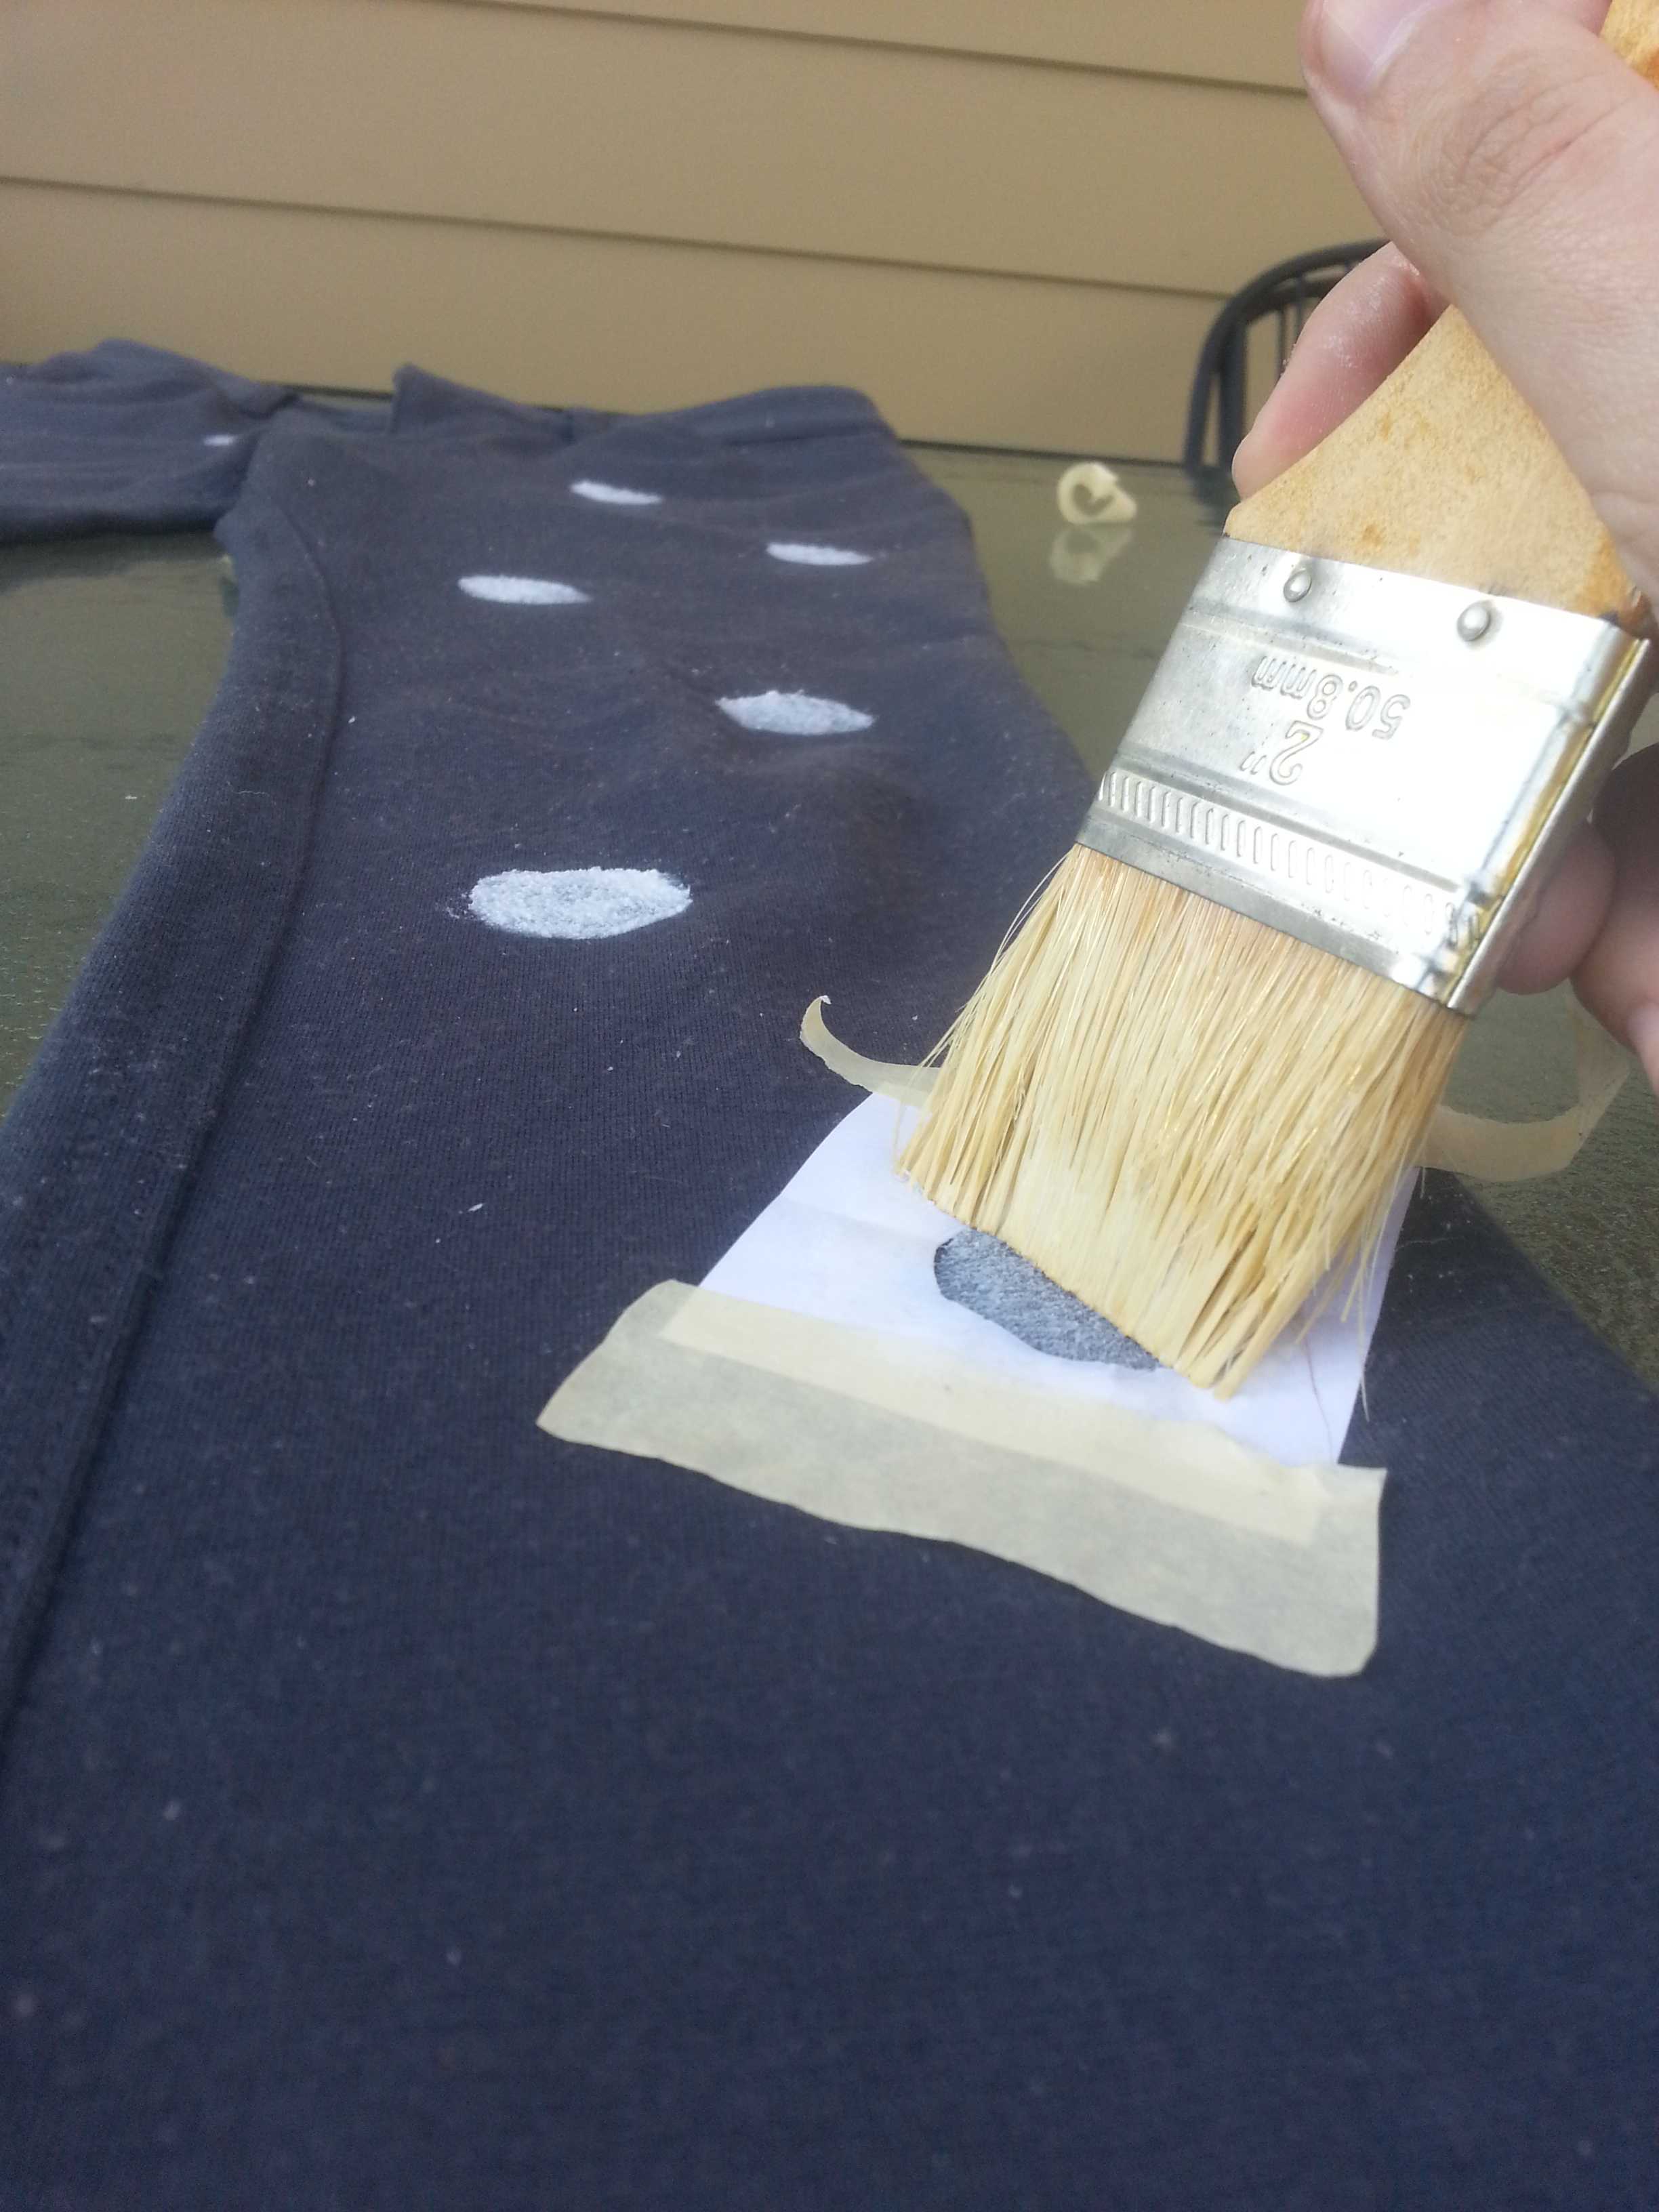
Set out pants onto a flat surface, and remove any debris from the pants. In this DIY, I used a pair of grey jeggings and laid them out on table in my backyard. Take the small, square of paper, and cut a circle stencil that you will use as the size of your polka dot. Then, lay the stencil onto your pants, and tape the paper down on the edges with duct tape.
2.Next, pour some of the fabric paint onto the plastic plate, and dip the paintbrush into the paint. Gently brush the paint across the stencil to paint a circle onto the pants. After that, allow the paint to dry for a minute or two. Apply as much paint as you would like, depending on how opaque you want the polka dot to be.
3.Gently, and carefully remove the taped down stencil from the pants. Then lay the stencil down again onto the next spot where you want to make another polka-dot. Continue this process throughout both legs of the pants until you have reached the style you desire.
Allow the pants to dry for an hour or two, perhaps even three to be safe, then flip the pants over and repeat the design onto the back (if you desire it to be that way). In my case, I only “polka-dotted” the front side of my pants.
5.After this, enjoy wearing your fun, eye-catching polka-dot pants that you created on your own. This way, you can be proud of completing a DIY project that leaves you with a product that fits right in with the spring trends this season, but still has an individualistic flair since the pants weren’t even store bought.
Following my experience with this DIY project, not only did I enjoy spending a lovely 70 degree day outside, I was left with a creative piece that I am sure I will enjoy wearing out this spring. The entire “polka-dotting” process took me about 15-20 minutes on each side, but I wish I could have continued the project for longer, since it was so enjoyable.
Not only can this project be used on pants, but in fact any other fabric you are looking to renovate, and in fact with any other design, other than polka-dots, that you prefer most, including hearts or stars. I thoroughly found this project to be a positive use of my time, and doing this DIY project allows you to relax and enjoy the process of creating these pants, and be extremely satisfied with the cute attire you finish with as well.
What spring trend would you like to see me try to DIY next? Comment below!By Manal Salim

















































Sophie Whyte • Mar 16, 2013 at 12:35 pm
Cute